Seamless Phone Data Transfer: Your Ultimate 2026 Checklist
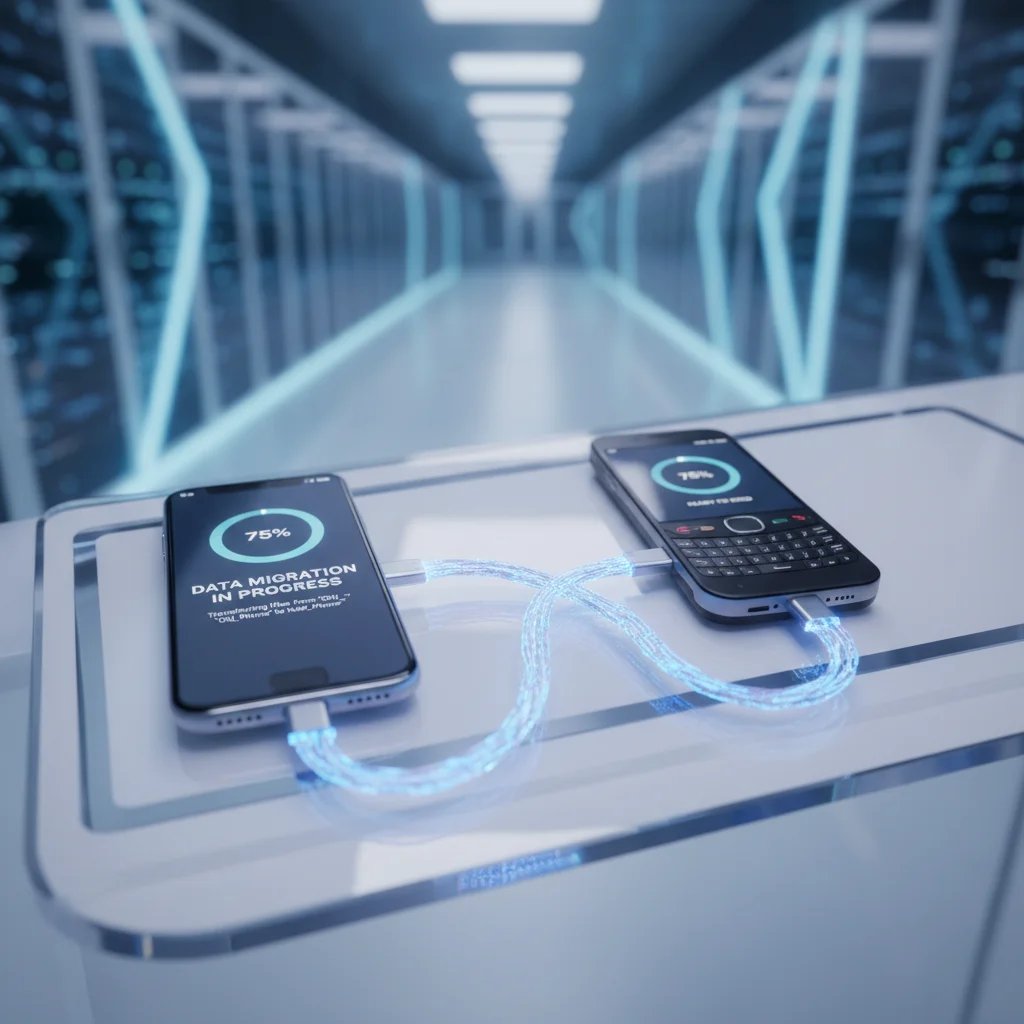
Upgrading to a new smartphone is often a moment of excitement, a leap into new features, improved performance, and enhanced capabilities. However, this excitement can quickly turn into apprehension at the thought of transferring all your precious data from your old device to the new one. The fear of losing contacts, cherished photos, important documents, or even the carefully curated settings of your favorite apps is a common concern. In an increasingly digital world, our phones hold a significant portion of our lives, making a seamless phone data transfer not just a convenience, but a necessity.
This comprehensive guide is meticulously crafted to walk you through every step of the phone data transfer process in 2026, ensuring that you don’t lose a single byte of information. Whether you’re moving from Android to Android, iOS to iOS, or even cross-platform, we’ve got you covered. By following this ultimate checklist, you can approach your new phone setup with confidence, knowing that all your memories, data, and digital life will be perfectly intact on your new device.
The Importance of a Well-Planned Phone Data Transfer
Before diving into the ‘how-to,’ let’s briefly discuss ‘why’ a detailed plan for phone data transfer is crucial. In 2026, our digital footprint on smartphones is more extensive than ever. It encompasses:
- Contacts: Your entire network, from family and friends to professional connections.
- Messages: SMS, MMS, and chat histories from various messaging apps, often holding sentimental value or important information.
- Photos and Videos: Irreplaceable memories, moments captured that tell the story of your life.
- Apps and App Data: Not just the applications themselves, but your login information, game progress, and personalized settings.
- Documents and Files: Work-related files, personal documents, and downloads.
- Call Logs: A record of your communications.
- Calendars and Reminders: Your schedule, appointments, and important dates.
- Settings and Preferences: Wi-Fi passwords, notification settings, home screen layouts, and accessibility preferences.
Losing any of these can range from a minor annoyance to a significant setback. A proper phone data transfer strategy minimizes risks and maximizes efficiency.
Pre-Transfer Preparations: The Foundation for Success
The success of your phone data transfer heavily relies on meticulous preparation. Skipping these initial steps can lead to headaches down the line.
1. Charge Both Devices Fully
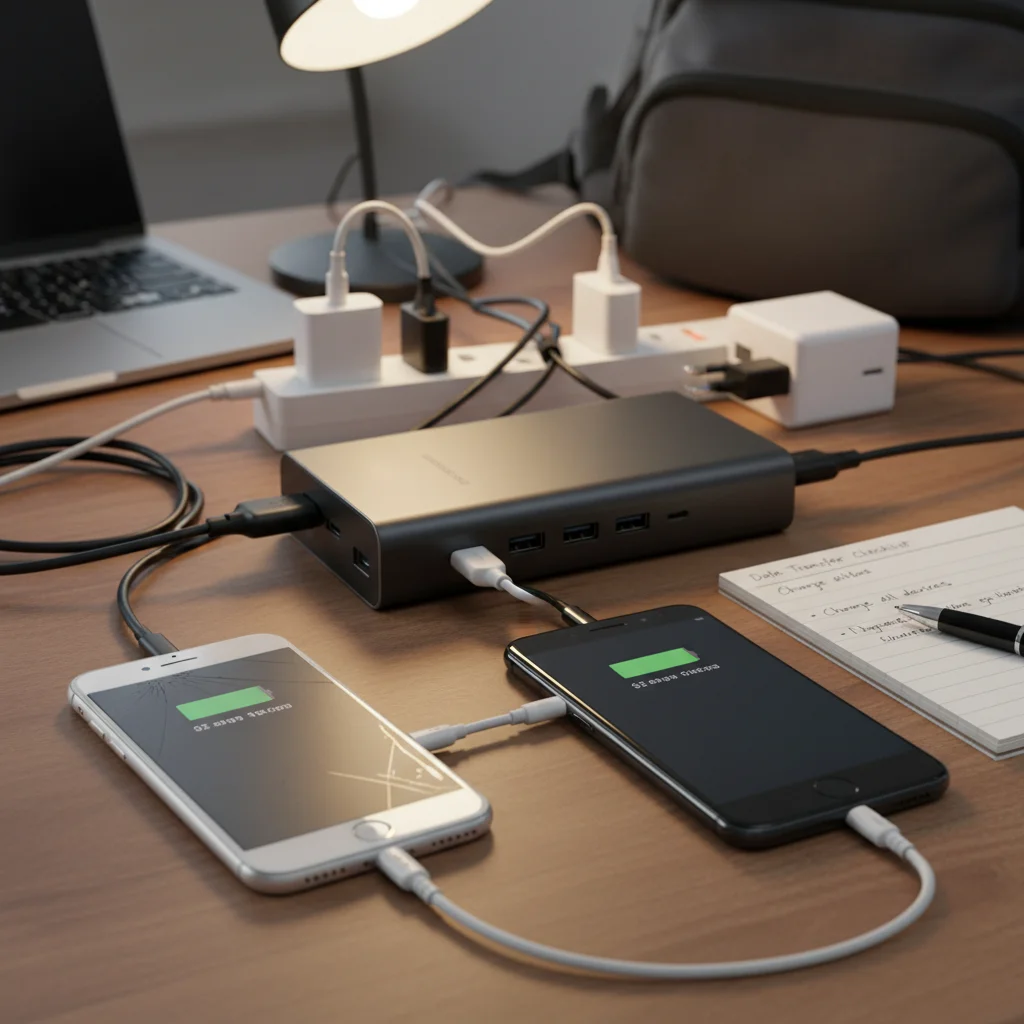
Data transfer can be battery-intensive. Ensure both your old and new phones are fully charged before you begin. It’s even better to keep them plugged into their chargers throughout the process to prevent unexpected shutdowns that could corrupt data.
2. Clean Up Your Old Phone
This is an excellent opportunity to declutter. Why transfer unnecessary junk? Delete old apps you no longer use, clear out duplicate photos, remove large files you don’t need, and uninstall cached data. This not only speeds up the transfer but also gives your new phone a fresh, clean start.
3. Update Operating Systems
Ensure both your old and new phones are running the latest version of their respective operating systems (iOS or Android). This helps prevent compatibility issues during the phone data transfer process and ensures you have access to the latest transfer tools and security features.
4. Document Important Information
Jot down critical login details for essential apps (banking, email, social media), Wi-Fi passwords, and any other settings you might need to reconfigure manually. While many transfer methods carry these over, it’s always good to have a backup record.
5. Disable Find My iPhone/Android (If Applicable)
Before factory resetting your old phone (which you might do after a successful transfer), it’s crucial to disable ‘Find My iPhone’ for iOS devices or remove your Google account for Android devices. This prevents activation locks and makes the device ready for resale or recycling.
Backup Strategies: Your Safety Net for Phone Data Transfer
Before initiating any transfer, creating a comprehensive backup of your old phone’s data is paramount. This acts as your safety net, ensuring that even if something goes wrong during the phone data transfer, your data is secure and recoverable.
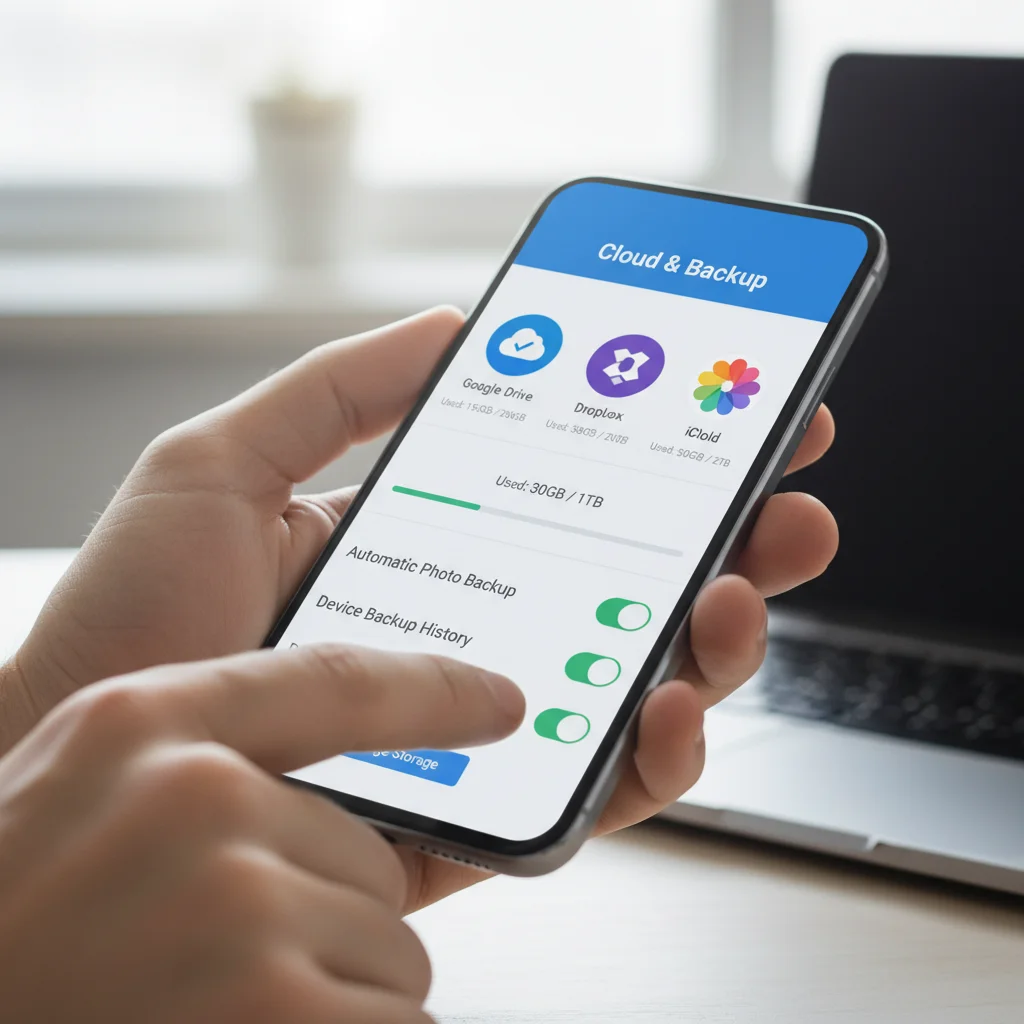
1. Cloud Backups (Recommended for Most Data)
Cloud services are the most convenient and often the most reliable way to back up your data. They offer automatic syncing and easy restoration.
- For iOS (iCloud):
- Go to Settings > [Your Name] > iCloud > iCloud Backup.
- Ensure ‘iCloud Backup’ is turned on.
- Tap ‘Back Up Now’ and stay connected to Wi-Fi until the backup is complete.
- Verify what data is included in your iCloud backup (Photos, Mail, Contacts, Calendars, Safari, Health, etc.). You might need to purchase more iCloud storage if you have a large amount of data.
- For Android (Google Drive/Google One):
- Go to Settings > System > Backup (or similar path depending on your Android version and manufacturer).
- Ensure ‘Backup to Google Drive’ (or Google One) is turned on.
- Select ‘Back up now.’ This typically backs up app data, call history, contacts, device settings, and SMS messages.
- For photos and videos, ensure Google Photos sync is active (Settings > Google > Backup > Google Photos Backup).
- Other Cloud Services: Consider dedicated services for photos like Dropbox, OneDrive, or Flickr for additional peace of mind, especially if you have an extensive photo library.
2. Local Backups (For Comprehensive Control)
Local backups involve connecting your phone to a computer and saving data directly. This offers more control and doesn’t rely on internet speeds or cloud storage limits.
- For iOS (Finder/iTunes):
- Connect your iPhone to your computer.
- On a Mac with macOS Catalina or later, open Finder. On a Windows PC or an older Mac, open iTunes.
- Select your device.
- Under the ‘Backups’ section, choose ‘Back up all of the data on your iPhone to this Mac’ (or ‘This Computer’ in iTunes).
- For sensitive data like health information and passwords, select ‘Encrypt local backup’ and create a password you won’t forget.
- Click ‘Back Up Now.’
- For Android (Manual Transfer/Manufacturer Software):
- Manual File Transfer: Connect your Android phone to your computer via USB. On your computer, open ‘This PC’ (Windows) or Finder (Mac with Android File Transfer installed). Navigate to your phone’s internal storage and manually copy important folders (DCIM for photos, Downloads, Documents, etc.) to your computer.
- Manufacturer Software: Many Android manufacturers (Samsung Smart Switch, LG Bridge, OnePlus Switch, etc.) offer desktop software that facilitates full device backups and restores. These are highly recommended for a full phone data transfer.
Choosing Your Phone Data Transfer Method
Once your old phone is prepped and backed up, it’s time to choose the best method for your phone data transfer. The optimal method depends on your old and new phone’s operating systems and manufacturers.
1. Manufacturer-Specific Transfer Apps (Easiest for Same-Brand Transfers)
Most major phone manufacturers provide dedicated apps designed to simplify phone data transfer between their own devices. These are often the easiest and most comprehensive solutions.
- Samsung Smart Switch: Excellent for transferring data from any Android or iOS device to a new Samsung Galaxy phone. It can transfer contacts, messages, photos, videos, call logs, notes, alarms, Wi-Fi settings, apps, and even home screen layouts. It works wirelessly or via a USB cable.
- Google Pixel’s Quick Switch Adapter: Pixel phones come with an adapter that allows you to connect your old phone (Android or iPhone) directly to the new Pixel for a fast, wired transfer of data.
- OnePlus Switch/Clone Phone: For OnePlus users, this app facilitates migrating data from an old Android or iOS device to a new OnePlus phone.
- Apple’s Quick Start: When setting up a new iPhone, if your old iPhone is nearby, Quick Start allows you to set up your new device automatically using your old device’s information and transfer data directly.
2. Cloud-Based Restoration (Universal and Convenient)
If you’ve diligently backed up your data to the cloud (iCloud for iOS, Google Drive for Android), restoring to your new phone is incredibly straightforward during the initial setup process.
- For iOS: During the setup of your new iPhone, choose ‘Restore from iCloud Backup.’ Sign in with your Apple ID, select the most recent backup, and follow the prompts. Your apps will download, and data will sync.
- For Android: When setting up your new Android phone, sign in with your Google account. You’ll be prompted to restore from a previous Google Drive backup. Select the desired backup, and your apps, contacts, messages, and settings will begin restoring. Photos will sync via Google Photos.
3. Cross-Platform Transfer Apps and Tools
Transferring data between Android and iOS used to be a major hurdle, but modern tools have significantly eased the process.
- Move to iOS (for Android to iPhone): This official Apple app, downloaded on your Android phone, securely transfers contacts, message history, camera photos and videos, web bookmarks, mail accounts, and calendars to your new iPhone.
- Smart Switch (for iOS to Samsung/Android): As mentioned, Samsung Smart Switch is capable of pulling data from an iPhone to a new Samsung device. Other Android manufacturers may have similar tools.
- Third-Party Software: Tools like dr.fone, MobileTrans, or AnyTrans offer more comprehensive cross-platform phone data transfer capabilities. These often require a desktop client and can transfer a wider range of data types but may come at a cost.
Post-Transfer Verification and Cleanup
The phone data transfer isn’t complete until you’ve verified everything and cleaned up your old device.
1. Verify Data on Your New Phone
- Contacts: Check your phonebook. Are all contacts there?
- Messages: Open your messaging app. Is your history present?
- Photos and Videos: Browse your gallery. Are all your media files accounted for?
- Apps: Are all your apps installed? Log into a few key apps (banking, social media) to ensure they work and your data is there.
- Calendars: Check your schedule.
- Settings: Verify Wi-Fi connections, notification preferences, and other critical settings.
If anything is missing, don’t panic. Revisit your backup or try an alternative transfer method for the missing data type.
2. Log Out of Accounts on Your Old Phone
Before factory resetting, ensure you’ve logged out of all your accounts on the old device. This includes Google accounts, Apple ID, social media, banking apps, and any other personal services.
3. Factory Reset Your Old Phone
This is crucial for protecting your privacy if you plan to sell, trade, or recycle your old device. A factory reset erases all data and restores the phone to its original factory settings.
- For iOS: Go to Settings > General > Transfer or Reset iPhone > Erase All Content and Settings. You’ll need to enter your Apple ID password.
- For Android: Go to Settings > System > Reset options > Erase all data (factory reset). You might need to enter your PIN or password.
Ensure you have disabled ‘Find My iPhone’ or removed your Google account *before* the factory reset to avoid activation locks.
4. Consider Secure Data Erasure (Optional but Recommended)
For maximum security, especially if you’re dealing with highly sensitive data, consider using a secure data erasure tool after a factory reset. These tools overwrite the phone’s storage multiple times, making data recovery virtually impossible. Many reputable third-party software providers offer this service.
Advanced Tips for a Flawless Phone Data Transfer
1. SIM Card and eSIM Management
Don’t forget your SIM card! Most new phones still use physical SIM cards, so simply eject it from your old phone and insert it into the new one. If you’re moving to an eSIM, you’ll need to contact your carrier to activate it on your new device and deactivate it on your old one.
2. WhatsApp Chat History Transfer
WhatsApp has its own backup and restore mechanism. Ensure you back up your chats to iCloud (for iPhone) or Google Drive (for Android) from within the WhatsApp app settings. When you install WhatsApp on your new phone and verify your number, it will prompt you to restore your chat history. For cross-platform WhatsApp transfers, it can be more complex, but WhatsApp now offers official in-app tools for Android to iOS migration, and third-party tools can assist with iOS to Android.
3. Authenticator Apps
Authenticator apps (like Google Authenticator, Authy, Microsoft Authenticator) require special attention. They don’t typically transfer with regular backups. You’ll need to manually transfer or re-add each account. Authy offers cloud sync, which simplifies the process. For Google Authenticator, you usually have to disable 2FA on your old phone for each service and then re-enable it on your new phone, scanning the new QR codes. This is a critical step, as losing access to these can lock you out of important accounts.
4. Pair Bluetooth Devices
Your new phone won’t automatically remember your paired Bluetooth devices (headphones, smartwatches, car systems). You’ll need to manually pair them again.
5. Reconfigure Payment Systems
Apple Pay, Google Pay, and other mobile payment systems require you to re-add your cards and banking information on your new device for security reasons. This is a quick but essential step.
6. Check for App-Specific Backups
Some apps, especially games or niche productivity tools, might have their own in-app backup and restore features that aren’t covered by general phone backups. Check the settings of your most critical apps to ensure their data transfers correctly.
Troubleshooting Common Phone Data Transfer Issues
Even with the best preparation, issues can sometimes arise during phone data transfer. Here are some common problems and their solutions:
- Slow Transfer Speeds: If transferring wirelessly, ensure both phones are close to your Wi-Fi router and not too far from each other. For large data volumes, a wired transfer is almost always faster.
- Incomplete Data Transfer: Review the transfer logs if available. If specific data types are missing (e.g., only contacts but no photos), try a different transfer method for that specific data or check your cloud backup settings to ensure everything was included.
- App Data Not Transferring: Some apps, particularly those with strong security or copy-protection, may not allow their data to be transferred directly. For games, cloud saves are your best bet. For others, you might need to log in and re-sync.
- New Phone Not Recognizing Old Phone: Check cables, ports, and ensure both devices are unlocked and in data transfer mode (for Android, select ‘File Transfer’ from the USB connection options).
- Activation Lock Issues: This typically happens if ‘Find My iPhone’ or Google account was not removed before a factory reset. You’ll need the original Apple ID/Google account credentials to unlock the device. Contacting the previous owner (if you bought it used) or Apple/Google support is necessary.
The Future of Phone Data Transfer: What to Expect Beyond 2026
As technology continues to evolve rapidly, the process of phone data transfer is likely to become even more streamlined and integrated. We can anticipate:
- Enhanced Cloud Integration: Deeper integration between OS-level backups and third-party app data, making restores even more seamless.
- Universal Transfer Protocols: While cross-platform transfers have improved, a truly universal standard that works flawlessly across all brands and operating systems could emerge.
- AI-Powered Data Management: AI might help identify and prioritize essential data for transfer, or even suggest optimal transfer methods based on user habits and data types.
- More Robust eSIM Management: As eSIMs become the default, carriers will offer more intuitive and secure ways to transfer numbers between devices without physical interaction.
Staying informed about these advancements will further simplify your future phone upgrades.
Conclusion: A Smooth Transition to Your New Digital Companion
Transferring data to a new phone doesn’t have to be a daunting task. By following this comprehensive 2026 checklist, you’re not just moving files; you’re ensuring a smooth, secure, and complete migration of your entire digital life. From meticulous preparation and robust backup strategies to choosing the right transfer method and performing essential post-transfer verifications, every step is designed to give you peace of mind.
Embrace your new smartphone with confidence, knowing that all your precious contacts, unforgettable memories, crucial documents, and personalized settings have made the journey safely. A well-executed phone data transfer means you can immediately dive into enjoying your new device without the frustration of missing information. Happy upgrading!