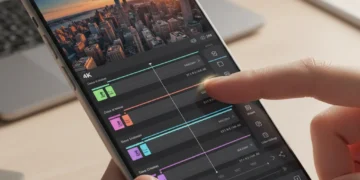
Mastering Smartphone Video Editing: Essential Guide for Content Creators
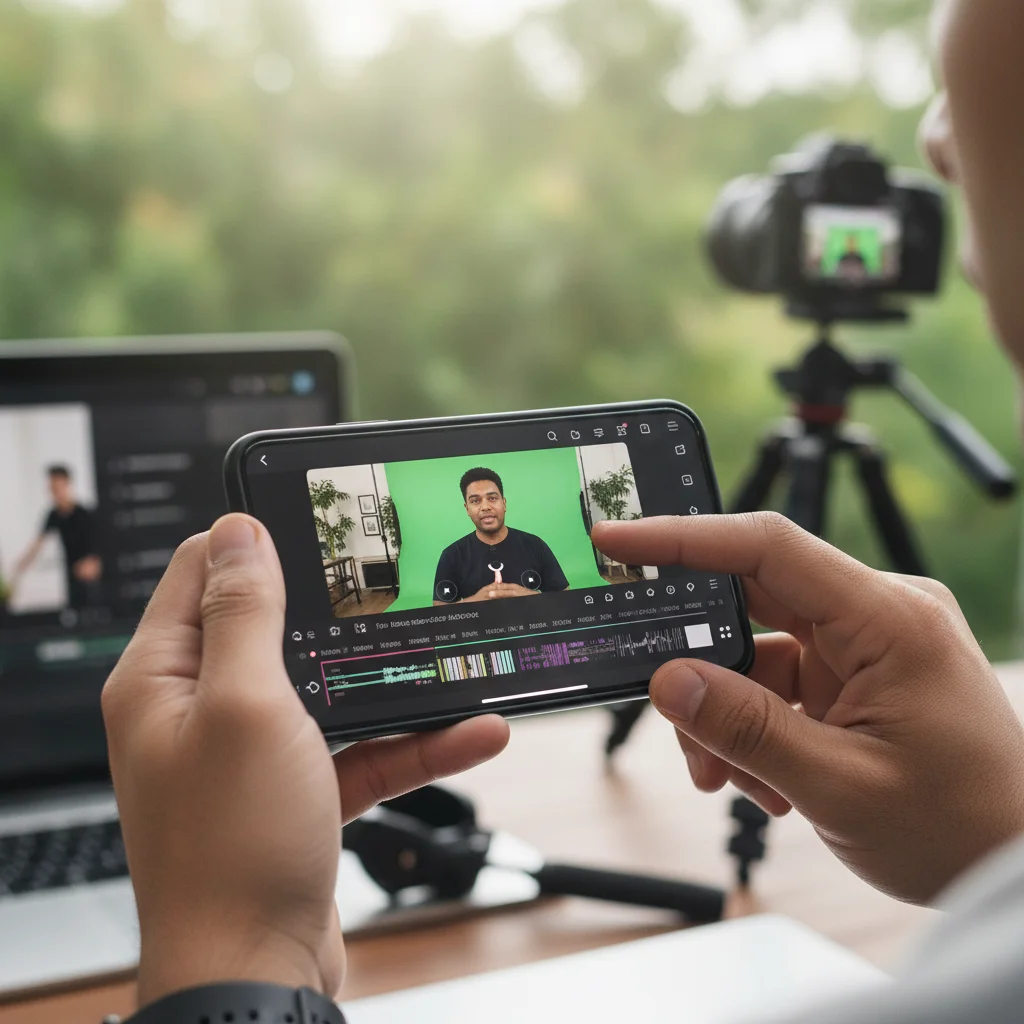
In today’s fast-paced digital world, content is king, and video reigns supreme. Whether you’re an aspiring vlogger, a small business owner, or just someone who loves sharing life’s moments, the ability to create compelling video content is no longer a luxury but a necessity. Gone are the days when sophisticated video production required expensive cameras and complex editing suites. Thanks to technological advancements, your smartphone is now a powerful tool capable of capturing, editing, and sharing professional-quality videos. This comprehensive guide will delve into the art of smartphone video editing, equipping you with the knowledge and skills to transform your raw footage into captivating stories.
The accessibility and convenience of smartphone cameras have democratized video creation. Almost everyone carries a high-definition camera in their pocket, ready to record at a moment’s notice. However, capturing footage is only half the battle. The real magic happens in the editing room – or, in this case, on your smartphone screen. Effective smartphone video editing can elevate your content from amateur to professional, ensuring your message is clear, engaging, and memorable. From trimming clips and adding music to applying filters and enhancing audio, understanding the fundamentals of mobile editing is crucial for any modern content creator.
This article is designed for both beginners taking their first steps in video creation and seasoned creators looking to optimize their mobile workflow. We’ll cover everything from choosing the right editing apps to mastering essential techniques and implementing advanced tips. By the end of this guide, you’ll be well-prepared to produce stunning videos directly from your smartphone, ready to share with your audience across any platform.
The Rise of Mobile Filmmaking: Why Smartphone Video Editing Matters
The evolution of smartphone technology has been nothing short of revolutionary. Modern smartphones boast cameras that rival traditional camcorders, offering features like 4K recording, optical image stabilization, and advanced computational photography. This hardware prowess, combined with intuitive software, has made smartphone video editing an incredibly viable and popular option. But why is it so important?
Accessibility and Convenience
The most obvious advantage is accessibility. You always have your phone with you, making it possible to capture and edit content anytime, anywhere. This on-the-go capability is invaluable for breaking news, spontaneous vlogs, or capturing fleeting moments that would otherwise be lost. No need to transfer files to a computer or carry bulky equipment; the entire production pipeline fits in your pocket.
Cost-Effectiveness
For aspiring content creators, the entry barrier to video production can be high due to the cost of professional cameras, lenses, and editing software. Smartphones eliminate much of this initial investment. Many excellent smartphone video editing apps are free or available for a minimal one-time purchase or subscription, providing powerful tools without breaking the bank.
Instant Sharing
Social media platforms thrive on immediacy. Being able to shoot, edit, and upload a video within minutes directly from your device is a game-changer for engagement. This speed allows creators to capitalize on trending topics, participate in real-time events, and maintain a consistent content schedule, all crucial elements for building an audience.
Creative Freedom and Experimentation
The user-friendly interfaces of mobile editing apps often encourage experimentation. Without the intimidation factor of complex desktop software, creators can freely explore different styles, effects, and transitions, fostering a more organic and innovative approach to storytelling. This creative freedom is a huge benefit for developing a unique visual voice.
Choosing the Right Smartphone Video Editing App
The market is flooded with smartphone video editing apps, each offering a unique set of features and catering to different skill levels. Selecting the right one is crucial for a smooth and efficient workflow. Here’s a breakdown of some top contenders and what to look for:
Key Features to Look For:
- Intuitive Interface: Easy to navigate, even for beginners.
- Basic Editing Tools: Trim, cut, merge, split clips.
- Audio Control: Adjust volume, add music, voiceovers.
- Text and Titles: Customizable text overlays.
- Filters and Effects: Enhance visual appeal.
- Transitions: Smoothly connect clips.
- Export Options: Various resolutions and aspect ratios for different platforms.
- Multi-track Editing: For overlaying video, audio, and graphics.
- Chroma Key (Green Screen): For advanced effects.
Popular Smartphone Video Editing Apps:
For iOS (iPhone/iPad):
- iMovie: Pre-installed on Apple devices, iMovie is an excellent starting point for beginners. It offers a clean interface and essential editing tools, perfect for quick edits and cinematic trailers. Its integration with the Apple ecosystem makes it seamless for users already familiar with Apple products.
- LumaFusion: Often considered the closest thing to a professional desktop editor on mobile, LumaFusion is a powerhouse for advanced users. It supports multi-track editing, 4K video, extensive audio controls, and a wide array of effects. While it has a learning curve, its capabilities are unmatched for serious mobile creators.
- CapCut: A free and extremely popular app, CapCut offers a user-friendly interface with a vast library of effects, filters, music, and templates. It’s particularly favored by TikTok and short-form video creators due to its trendy features and ease of use.
For Android:
- InShot: A highly-rated app for both photos and videos, InShot provides robust editing features like trimming, cutting, adding music, text, and effects. It’s great for social media content due to its aspect ratio adjustments and background options.
- KineMaster: A powerful, professional-grade video editor for Android (also available on iOS). KineMaster offers multi-track editing, precise trimming, chroma key, and extensive audio controls. It’s a fantastic option for those seeking more advanced features on their Android device.
- CapCut: Just like on iOS, CapCut is a strong contender on Android, offering the same intuitive interface and rich feature set that makes it a favorite for quick, engaging video edits.
Cross-Platform (iOS & Android):
- Adobe Premiere Rush: A simplified version of Adobe Premiere Pro, Rush is designed for quick video creation across devices. It syncs projects to the cloud, allowing you to start editing on your phone and finish on your desktop. It’s great for those already in the Adobe ecosystem.
- DaVinci Resolve (iPad only): While not universally available on all smartphones, DaVinci Resolve’s iPad app brings a significant portion of its desktop power to a mobile form factor. This is for serious editors who want professional-grade color grading and fusion effects on a tablet.
Experiment with a few free options to find an app that resonates with your workflow and creative needs before committing to a paid version. The best smartphone video editing app is ultimately the one you find most comfortable and effective to use.
Essential Smartphone Video Editing Techniques for Beginners
Once you’ve chosen your app, it’s time to dive into the practical aspects of smartphone video editing. Here are the fundamental techniques every content creator should master:
1. Trimming and Cutting Clips
This is the most basic yet crucial editing skill. Trimming involves removing unwanted footage from the beginning or end of a clip, while cutting (or splitting) divides a single clip into two or more segments. The goal is to keep only the most engaging and relevant parts of your footage, creating a concise and impactful narrative.
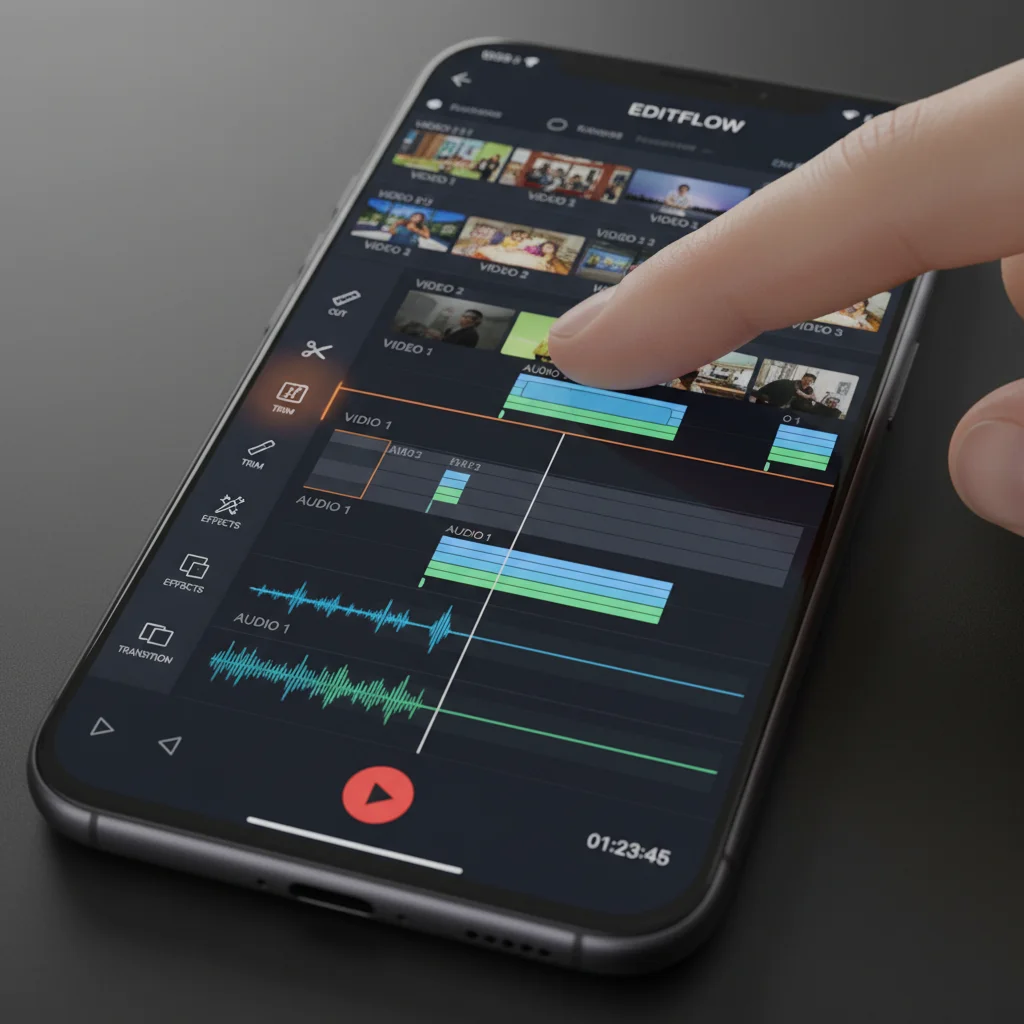
- How-to: Most apps allow you to tap on a clip in the timeline and drag its edges to trim. To cut, place the playhead at the desired point and select the ‘split’ or ‘cut’ tool.
- Pro Tip: Always shoot more footage than you think you’ll need. It’s easier to cut down than to realize you’re missing a crucial shot.
2. Arranging and Sequencing Clips
Once trimmed, your clips need to be arranged in a logical and engaging order to tell your story. This is where the narrative arc comes into play. Think about the flow of your video – what happens first, next, and last?
- How-to: Drag and drop clips on the timeline to reorder them.
- Pro Tip: Create a rough cut first, focusing solely on the story’s sequence. You can refine details later.
3. Adding Transitions
Transitions are the visual effects used to move from one clip to another. While some transitions can be flashy, often the simplest ones are the most effective. Overuse of elaborate transitions can distract from your content.
- Common Transitions: Cut (instant change), Dissolve (one clip fades into another), Wipe (one clip pushes the other off-screen).
- How-to: Tap on the space between two clips in your timeline to access transition options.
- Pro Tip: Use cuts for most changes and reserve dissolves or other subtle transitions for changes in time, location, or mood.
4. Adjusting Audio: Music, Voiceovers, and Sound Effects
Audio quality can make or break a video. Good audio enhances engagement, while poor audio can quickly turn viewers away. Smartphone video editing apps offer robust audio controls.
- Background Music: Add royalty-free music to set the mood. Ensure the music isn’t too loud and doesn’t overpower dialogue.
- Voiceovers: Record narration directly within the app to explain visuals or provide additional context.
- Sound Effects: Use subtle sound effects to emphasize actions or create atmosphere (e.g., a swoosh for a text reveal).
- How-to: Most apps have dedicated audio tracks. You can import music, record voiceovers, and adjust individual clip volumes. Look for options to duck (lower) music volume when someone is speaking.
- Pro Tip: Always monitor your audio levels. Aim for consistent volume throughout your video.
5. Adding Text, Titles, and Graphics
Text overlays and titles are essential for providing context, introducing speakers, highlighting key information, or adding calls to action. Graphics can include logos, lower thirds, or animated elements.
- How-to: Look for a ‘Text’ or ‘Titles’ option in your app. You can usually customize font, color, size, position, and even animation.
- Pro Tip: Keep text concise and readable. Use brand fonts and colors for consistency.
6. Color Correction and Filters
Color grading can dramatically impact the mood and professionalism of your video. Basic color correction involves adjusting brightness, contrast, and saturation to make your footage look its best. Filters are pre-set color adjustments that can give your video a specific aesthetic.
- How-to: Find the ‘Adjust’ or ‘Filters’ section. Experiment with presets or manually tweak settings.
- Pro Tip: Aim for natural-looking colors unless a specific artistic style is desired. Consistency in color grading across clips is key.
7. Exporting Your Video
The final step in smartphone video editing is exporting your finished project. This converts your edited timeline into a single video file. Pay attention to resolution, frame rate, and file format.
- Resolution: 1080p (Full HD) is standard for most platforms. 4K offers higher quality but results in larger files.
- Frame Rate: Match the frame rate you shot in (e.g., 30fps or 60fps).
- Aspect Ratio: Choose the correct aspect ratio for your target platform (e.g., 16:9 for YouTube, 9:16 for TikTok/Reels, 1:1 for Instagram feed).
- How-to: Look for an ‘Export’ or ‘Share’ button, usually in the top right corner of the app.
- Pro Tip: Always export in the highest quality supported by your app and desired platform, but be mindful of file size if you have limited storage or slow internet.
Advanced Smartphone Video Editing Tips for Content Creators
Once you’ve mastered the basics, you can explore more advanced techniques to truly make your videos stand out. These tips will help you leverage the full potential of smartphone video editing.
1. Utilize Multi-Track Editing
Many advanced mobile editors allow for multiple video and audio tracks. This means you can layer footage (e.g., picture-in-picture), add overlay graphics, and manage separate audio elements (music, voiceover, original audio) independently. This is crucial for dynamic and visually rich content.
- Example: Overlaying B-roll footage over your main talking head clip, or adding animated lower thirds.
- Pro Tip: Keep your timeline organized. Label tracks if your app allows, and group related elements to avoid confusion.
2. Speed Ramps and Slow Motion
Adjusting the speed of your clips can add dramatic effect or emphasize a particular action. Speed ramps, where the speed gradually changes over a segment, are particularly effective for dynamic transitions or highlighting key moments.
- How-to: Select a clip and look for a ‘Speed’ or ‘Time Remapping’ option.
- Pro Tip: Use slow motion sparingly for maximum impact. Fast-motion can summarize longer processes or create an energetic feel.
3. Chroma Key (Green Screen) Effects
For those looking to add a touch of professional magic, chroma key allows you to remove a specific color (usually green or blue) from your footage, replacing it with another video or image. This is how filmmakers create elaborate backgrounds or special effects.
- How-to: You’ll need footage shot against a uniform green or blue background. In your editing app, select the chroma key tool and tap on the background color.
- Pro Tip: Ensure your green screen is evenly lit and wrinkle-free for the best results.
4. Stabilization and Motion Tracking
Many apps now offer built-in stabilization features to smooth out shaky footage. Some even include basic motion tracking, allowing you to attach text or graphics to moving objects in your video.
- How-to: Look for a ‘Stabilize’ option for shaky clips. Motion tracking is typically found under text or effects options.
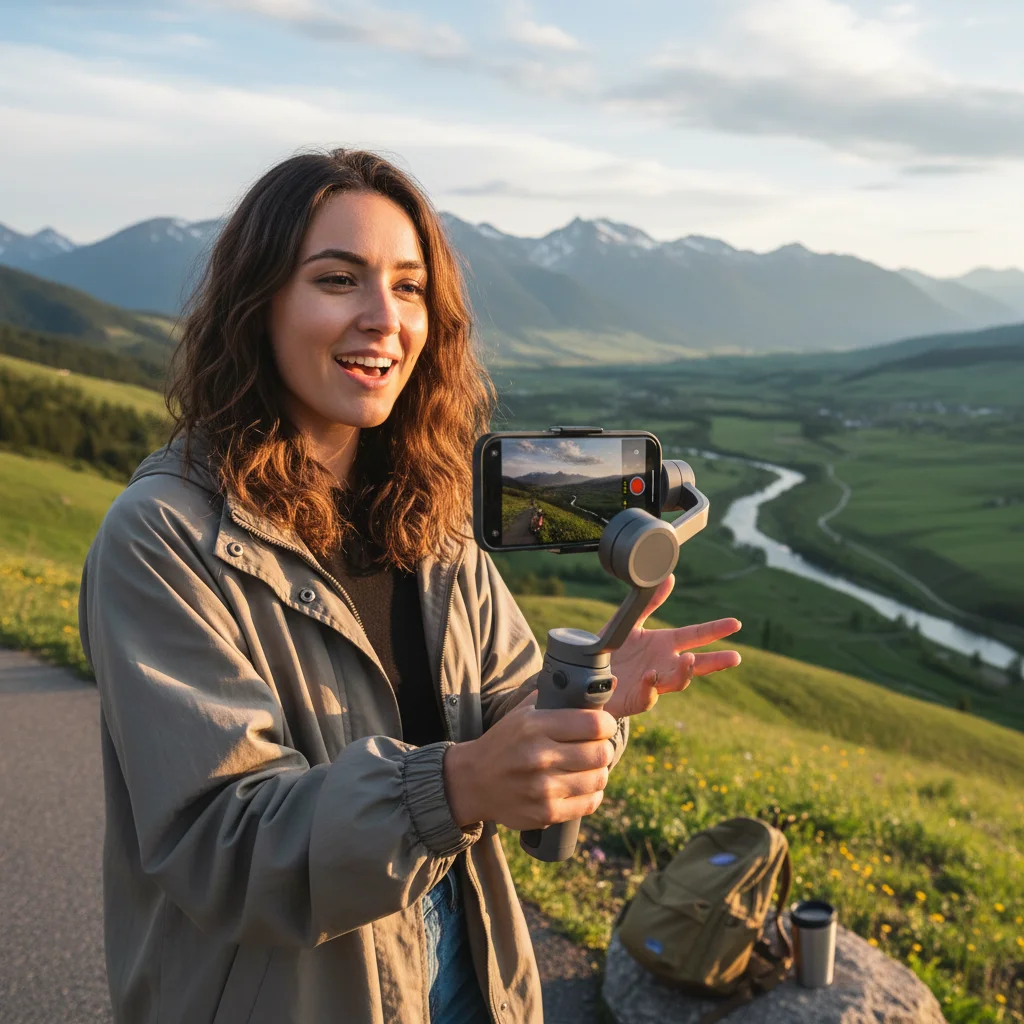
- Pro Tip: While in-app stabilization is great, try to shoot stable footage in the first place using a gimbal or tripod for the best quality.
5. Creative Use of Filters and LUTs
Beyond basic filters, some apps offer Look-Up Tables (LUTs), which are more sophisticated color presets used in professional filmmaking. Experiment with these to give your videos a consistent, cinematic look.
- Pro Tip: Create your own signature look by saving custom color adjustments as a preset if your app allows. This ensures brand consistency across all your videos.
Optimizing Your Workflow for Efficient Smartphone Video Editing
Even with powerful tools, an inefficient workflow can hinder your creative process. Here are some tips to streamline your smartphone video editing:
1. Plan Your Shoot
Before you even hit record, have a clear idea of your video’s purpose, message, and target audience. A simple storyboard or shot list can save significant time in editing. Know what shots you need and capture them intentionally.
2. Organize Your Footage
After shooting, quickly review your clips. Delete bad takes, favorite the best ones, and organize them into folders on your phone if possible. This makes finding the right clips during editing much faster.
3. Edit in Stages
Don’t try to do everything at once. Break down the editing process into stages:
- Rough Cut: Assemble all essential clips in order.
- Fine Cut: Trim precisely, add transitions.
- Audio Mixing: Add music, voiceovers, sound effects, and adjust levels.
- Color Grading: Apply color corrections and filters.
- Graphics and Effects: Add text, titles, and special effects.
- Review: Watch the entire video multiple times.
4. Take Breaks
Staring at a small screen for too long can lead to eye strain and creative fatigue. Step away from your editing for a while and come back with fresh eyes. You’ll often spot errors or areas for improvement you missed before.
5. Backup Your Projects
Always back up your raw footage and project files, especially for longer or more important videos. Cloud storage services or external drives are excellent for this. Losing hours of work due to a phone crash is a nightmare no one wants to experience.
6. Learn Keyboard Shortcuts (if available)
If your smartphone video editing app supports external keyboards (especially on tablets), learning shortcuts can drastically speed up your editing process. This brings a desktop-like efficiency to your mobile setup.
The Future of Smartphone Video Editing
The landscape of smartphone video editing is constantly evolving. We can expect even more sophisticated AI-powered features, such as automatic scene detection, intelligent color correction, and advanced object removal. Augmented reality (AR) effects are also becoming more prevalent, allowing creators to add interactive 3D elements to their videos directly from their phones.
As 5G technology becomes more widespread, cloud-based editing solutions will also likely gain traction, allowing creators to access and edit high-resolution files without taxing their device’s storage or processing power. The integration of professional-grade codecs and higher bitrates will further blur the lines between mobile and desktop production.
For content creators, this means an even more powerful and accessible toolkit. The ability to produce broadcast-quality content from a device that fits in your pocket will continue to empower individuals and small businesses, fostering an even more diverse and creative digital ecosystem.
Conclusion: Your Smartphone, Your Studio
The journey to mastering smartphone video editing is an exciting one. Your smartphone is no longer just a communication device; it’s a portable studio, a powerful editing suite, and a gateway to sharing your unique stories with the world. By understanding the fundamentals, exploring the right apps, and continuously practicing advanced techniques, you can transform ordinary footage into extraordinary content.
Remember, the best video editor isn’t necessarily the one with the most expensive equipment, but the one who tells the most compelling story. With the tools and knowledge gained from this guide, you are now equipped to create engaging, professional-quality videos that resonate with your audience, all from the palm of your hand. So, pick up your phone, start editing, and unleash your creative potential. The world is waiting for your story.