Convert Old Media to Digital: Your Ultimate Guide for Archiving Memories by 2026
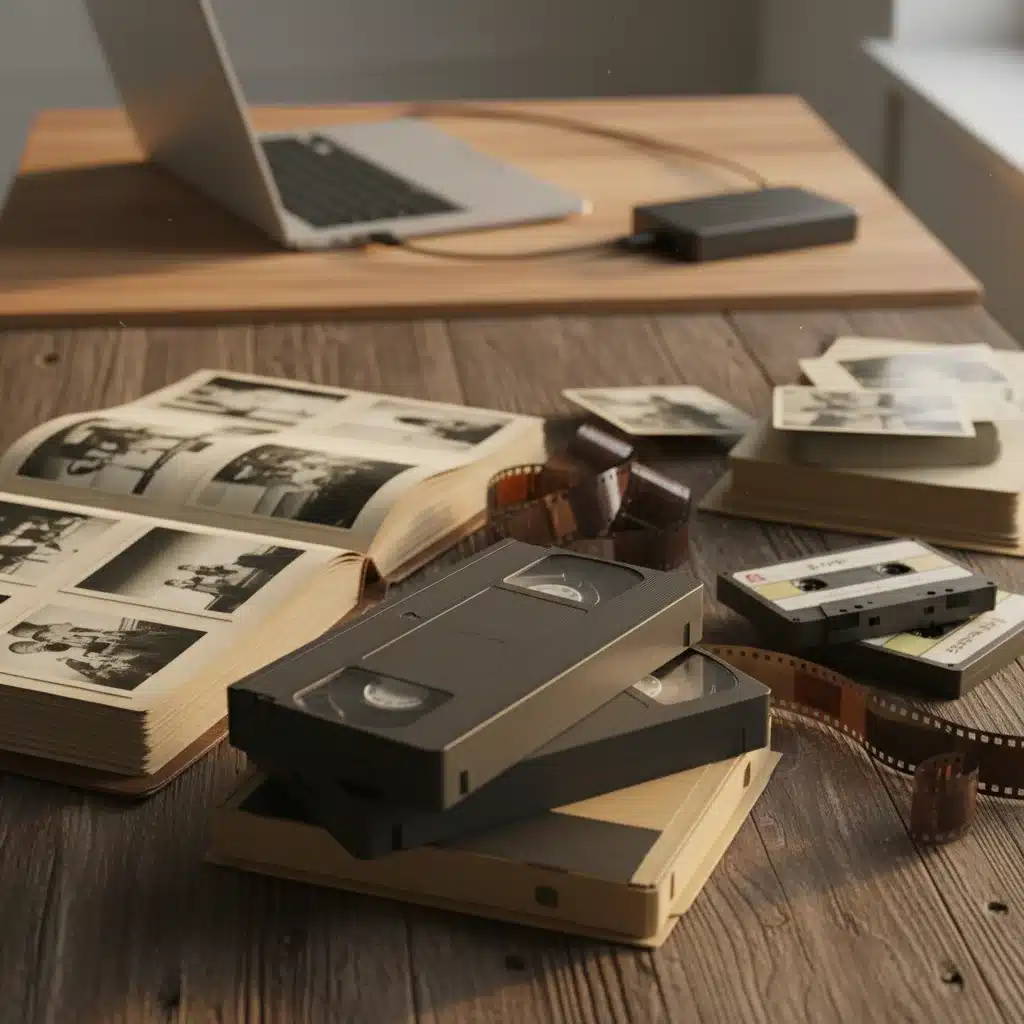
In an increasingly digital world, our most cherished memories often reside on formats that are rapidly becoming obsolete. From dusty VHS tapes capturing childhood milestones to faded photographs documenting family history, and crackling audio cassettes preserving voices from the past, these analog treasures are vulnerable to decay and loss. The year 2026 isn’t just an arbitrary date; it represents a looming deadline for many legacy media formats. As technology advances, playback equipment becomes harder to find, and the physical media itself degrades, making now the critical time to convert old media to digital. This comprehensive guide will walk you through the essential steps, tools, and considerations to ensure your precious memories are safely archived for future generations.
Convert Old Media to Digital: Your Ultimate Guide for Archiving Memories by 2026
The digital age has brought unparalleled convenience and accessibility to our lives, but it has also highlighted the fragility of our past. Old media formats, once revolutionary, are now relics. Magnetic tapes can lose their signal, photographic dyes can fade, and film can become brittle. Waiting too long to convert old media can mean losing those irreplaceable moments forever. This article provides a detailed roadmap to help you navigate the process of digitizing your analog archives, ensuring your family’s history is preserved in a durable, accessible, and shareable format.
Why Digitizing Your Old Media is Non-Negotiable Now
The urgency to convert old media cannot be overstated. Here’s why you should prioritize this task:
- Physical Degradation: Analog media, by its very nature, deteriorates over time. VHS tapes can suffer from ‘sticky shed syndrome,’ making them unplayable. Photos fade due to light exposure and chemical reactions. Audio tapes can warp and lose magnetic information.
- Obsolete Playback Equipment: VCRs, tape players, and slide projectors are no longer mass-produced. Finding working equipment, let alone parts for repairs, is becoming increasingly difficult and expensive.
- Space Saving: Physical media takes up significant space. Digitizing allows you to store thousands of hours of video, millions of photos, and countless audio recordings on a single hard drive or cloud service.
- Accessibility and Sharing: Digital files are easy to access, edit, and share with family and friends, regardless of their location. Imagine sharing a childhood video with a cousin across the globe instantly.
- Future-Proofing: While digital formats also require migration over time, they offer far greater longevity and flexibility than their analog counterparts.
Phase 1: Preparation – Getting Your Media Ready
Before you begin the actual conversion, proper preparation is key to a smooth and successful process. This phase involves inventory, cleaning, and organizing your analog assets.
Step 1: Inventory and Organize Your Collection
Start by gathering all your old media. This might include:
- Video: VHS, Betamax, Video8, Hi8, Digital8, MiniDV tapes, 8mm/Super 8 film reels.
- Photos: Printed photos, slides, negatives (35mm, 120mm, large format).
- Audio: Cassette tapes, reel-to-reel tapes, vinyl records.
Create a detailed inventory. Label each item with a unique identifier and note its content, date (if known), and any perceived damage. This will help you prioritize and track your progress when you convert old media.
Step 2: Clean and Repair Your Media
Dirty or damaged media can lead to poor quality digital conversions or even damage your playback equipment. Handle all media with care, ideally with cotton gloves to avoid fingerprints.
- Tapes (Video/Audio): Gently wipe the tape casings with a soft, lint-free cloth. For sticky or moldy tapes, professional cleaning services are recommended, as DIY attempts can cause irreversible damage.
- Photographs: Use a soft, dry microfiber cloth or a can of compressed air to remove dust and debris. Avoid using liquid cleaners.
- Slides/Negatives: Use a specialized film cleaner and lint-free wipes, or compressed air, to remove dust.
- Film Reels: Check for brittle splices or dirt. Film cleaning kits are available, but for heavily damaged film, professional restoration is best.
Step 3: Choose Your Conversion Method: DIY vs. Professional Service
This is a crucial decision when you decide to convert old media. Both options have their pros and cons:
DIY Conversion:
- Pros: Cost-effective for large collections, full control over the process, privacy.
- Cons: Requires time, technical know-how, and investment in equipment. Quality can vary based on your skill and gear.
Professional Service:
- Pros: High-quality results, saves time, handles specialized or damaged media, no equipment purchase necessary.
- Cons: Can be expensive for large collections, less control over the process, privacy concerns (though reputable services have strict policies).
For this guide, we will focus primarily on DIY methods, empowering you to convert old media yourself. However, don’t hesitate to use professional services for particularly valuable or challenging items.
Phase 2: The Conversion Process – Step-by-Step Guides
Now, let’s dive into the specifics of converting different types of old media.
Converting Video Tapes (VHS, Video8, MiniDV, etc.)
This is one of the most common and often daunting tasks. The goal is to capture the analog video signal and turn it into a digital file.
What You’ll Need:
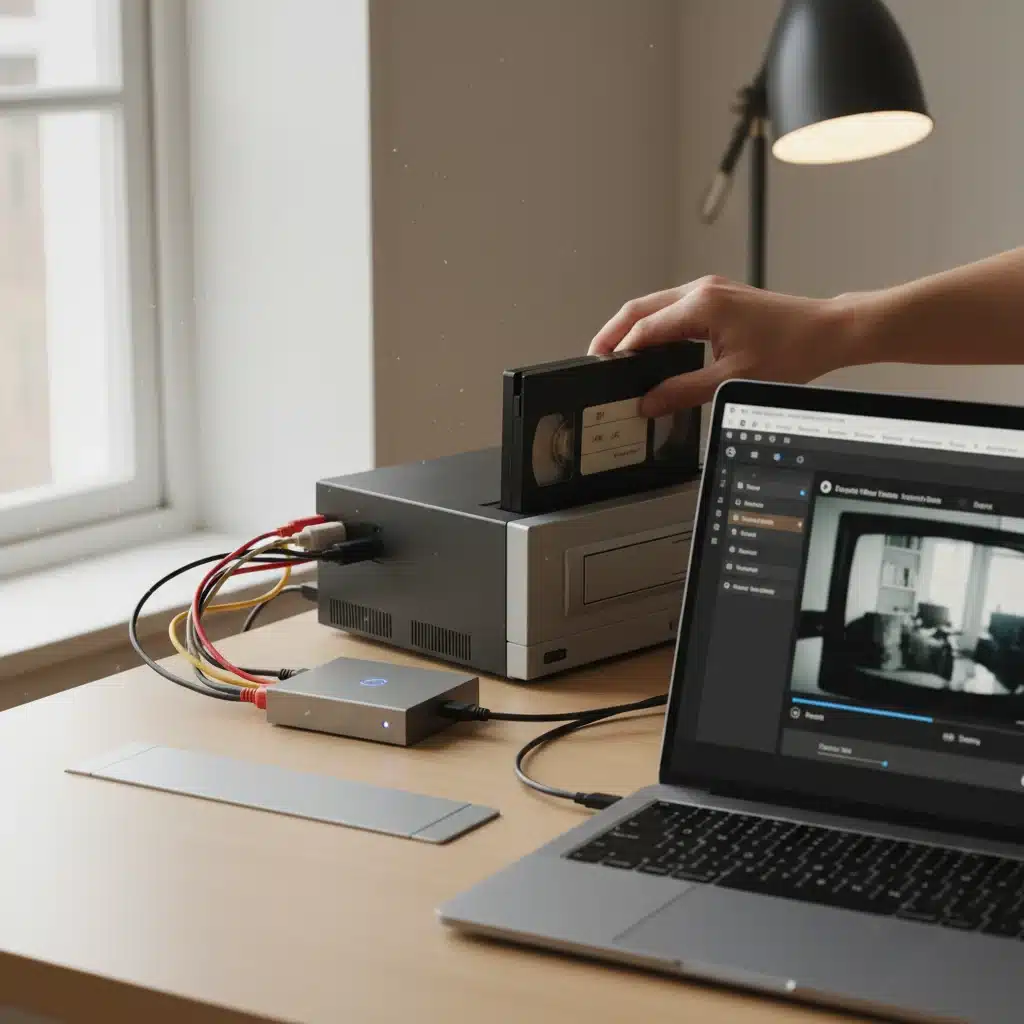
- Original Playback Device: A working VCR (for VHS), Video8/Hi8/Digital8 camcorder, or MiniDV camcorder.
- Video Capture Device: An analog-to-digital converter. These range from simple USB dongles (e.g., Elgato Video Capture, Roxio Easy VHS to DVD) to more advanced capture cards.
- Computer: With sufficient storage space and processing power.
- Video Editing Software: Basic software like Windows Movie Maker (older versions), iMovie, or more advanced options like Adobe Premiere Elements, DaVinci Resolve (free), or OBS Studio (free).
- RCA cables (red, white, yellow) or S-Video cable: To connect your playback device to the capture device.
Step-by-Step Process:
- Connect Your Equipment: Connect your VCR or camcorder to the video capture device using the RCA (composite) or S-Video cables. Then, connect the capture device to your computer via USB.
- Install Software: Install the drivers and software that came with your video capture device.
- Configure Capture Settings: Open your video capture software. Select the correct input source (usually ‘Composite’ or ‘S-Video’). Choose your desired video format (MP4 is widely compatible) and resolution. Aim for at least 720×480 (NTSC) or 720×576 (PAL) for standard definition tapes.
- Start Playback and Capture: Insert the tape into your playback device and rewind it to the beginning. Start recording in your capture software, then immediately press play on your VCR/camcorder. It’s crucial to capture the entire tape in one go to avoid sync issues.
- Monitor and Save: Monitor the capture process for any glitches. Once the tape finishes, stop recording in your software and save the file. Give it a descriptive filename.
- Edit (Optional but Recommended): Use your video editing software to trim unwanted footage (blank sections, commercials), improve audio levels, and enhance video quality if needed.
Converting Photographs (Prints, Slides, and Negatives)
Digitizing photos requires careful handling and the right equipment to preserve detail and color accuracy.
What You’ll Need:
- Scanner:
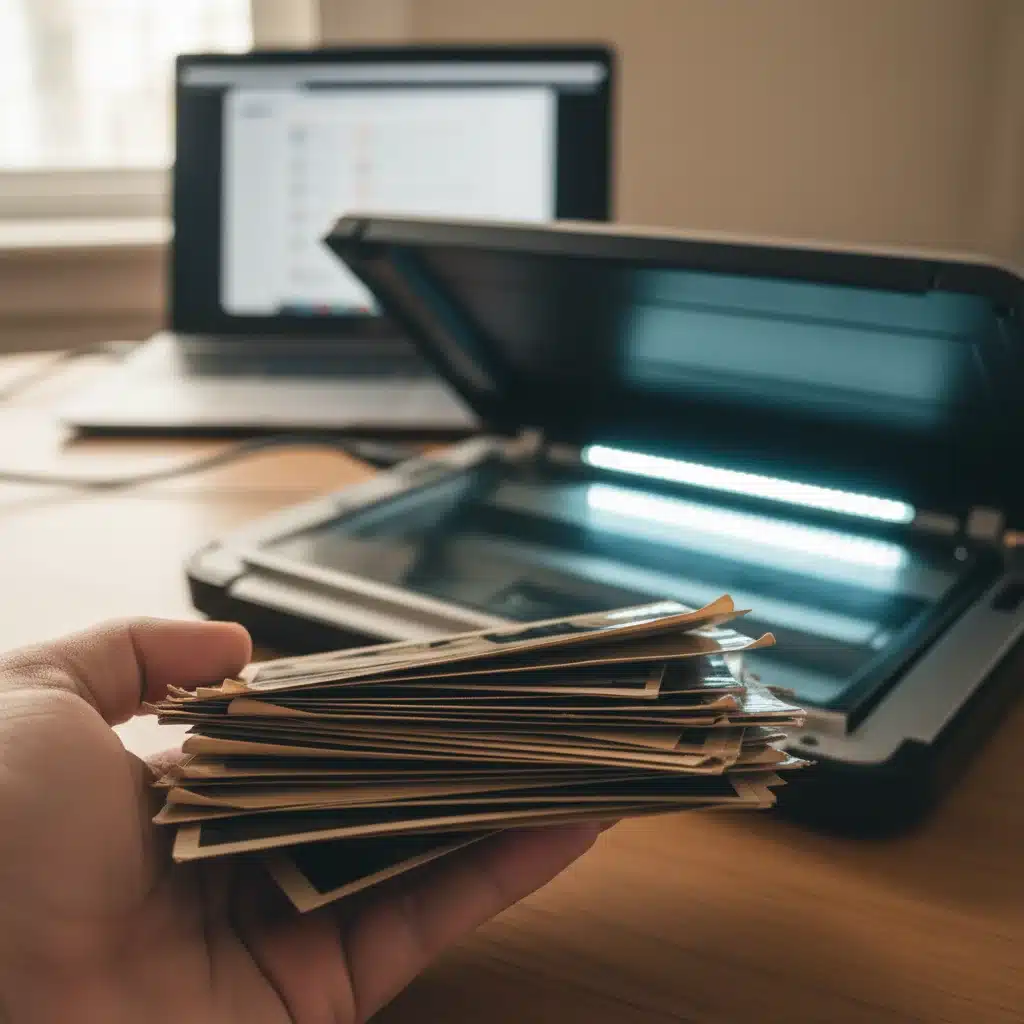
- Flatbed Scanner: Ideal for printed photos. Look for models with at least 600 DPI optical resolution.
- Flatbed Scanner with Transparency Adapter: Essential for slides and negatives.
- Dedicated Film Scanner: Offers the best quality for slides and negatives but can be more expensive.
- Computer: With sufficient storage.
- Image Editing Software: Basic options like GIMP (free) or more advanced like Adobe Photoshop Elements, Affinity Photo.
- Cleaning Supplies: Microfiber cloth, compressed air.
Step-by-Step Process:
- Clean Your Photos/Film: Gently clean each item as described in the preparation phase. Dust is the enemy of good scans.
- Configure Scanner Settings: Open your scanner software. Choose the appropriate settings:
- Resolution: For prints, 300-600 DPI is generally sufficient. For slides and negatives, aim for 2400-4800 DPI to capture fine detail.
- Color Depth: Scan in 24-bit or 48-bit color for best results.
- File Format: TIFF for archival quality (lossless, but large file size), JPEG for everyday use (compressed, smaller file size).
- Scan Your Items:
- Prints: Place photos face down on the scanner bed, one at a time or in batches if your scanner software supports multi-image detection.
- Slides/Negatives: Place them in the appropriate film holders provided with your scanner. Ensure they are correctly oriented.
- Save and Organize: Save each scan with a descriptive filename (e.g., ‘FamilyReunion_1985_Photo001.tif’). Create a logical folder structure.
- Edit (Optional but Recommended): Use image editing software to crop, rotate, correct colors, remove dust spots, and adjust brightness/contrast.
Converting Audio Tapes (Cassettes, Reel-to-Reel)
Preserving old voices, music, and historical recordings requires a good audio setup.
What You’ll Need:
- Original Playback Device: A working cassette player, reel-to-reel player, or turntable (for vinyl).
- Audio Interface/USB Audio Adapter: To connect your playback device to your computer. Look for devices with RCA inputs.
- Computer: With sufficient storage.
- Audio Recording Software: Audacity (free and highly recommended), GarageBand (Mac), or Adobe Audition.
- RCA cables (red, white): To connect the playback device to the audio interface.
Step-by-Step Process:
- Connect Your Equipment: Connect the ‘Line Out’ or ‘Audio Out’ jacks of your tape player/turntable to the ‘Line In’ or ‘Audio In’ jacks of your audio interface or USB adapter. Then connect the adapter to your computer.
- Install Software: Install any necessary drivers for your audio interface and your chosen audio recording software.
- Configure Audio Settings: Open your audio recording software (e.g., Audacity). Select your USB audio adapter as the input device. Set the recording quality (e.g., 44.1 kHz, 16-bit stereo).
- Set Levels: Play a loud section of your tape and adjust the recording levels in your software so they peak just below clipping (usually around -6 dB to -3 dB).
- Record: Rewind the tape, then click ‘Record’ in your software and immediately press ‘Play’ on your tape player.
- Monitor and Save: Monitor the recording. Once the tape finishes, stop recording. Save the file in a lossless format like WAV for archiving, and then convert to MP3 for sharing or everyday use.
- Edit and Enhance (Recommended): Use your audio software to remove hiss, hum, clicks, or pops. You can also normalize volume levels and split long recordings into individual tracks.
Phase 3: Post-Conversion – Archiving and Safeguarding Your Digital Memories
Converting your media is only half the battle. Properly archiving and backing up your new digital files is crucial for their long-term survival.
Organize Your Digital Files
A well-structured organization system is vital. Create a logical folder hierarchy, perhaps by year, event, or person. Use consistent, descriptive filenames. Metadata (information embedded in the file, like date, location, keywords) can also be invaluable for searching and sorting.
Choose Your Storage Solutions
The “3-2-1 backup rule” is a golden standard for digital preservation:
- 3 Copies: Keep at least three copies of your data.
- 2 Different Media Types: Store them on at least two different types of storage media (e.g., internal hard drive, external hard drive, cloud storage).
- 1 Offsite Copy: Keep at least one copy in an offsite location (e.g., cloud, a relative’s house) to protect against local disasters.
Storage Options:
- External Hard Drives: Affordable, high capacity. Ensure you use reliable brands and replace them periodically.
- Network Attached Storage (NAS): A personal cloud solution, great for home networks and multiple users.
- Cloud Storage: Services like Google Drive, Dropbox, OneDrive, Amazon S3, or specialized archival services. Offers offsite backup and accessibility from anywhere.
- Optical Media (Blu-ray M-Disc): While less common for large archives, M-Discs offer extremely long archival life (hundreds of years) for critical files.
Regularly Check and Migrate Your Data
Digital archiving isn’t a one-time task. Technology evolves, and file formats can become obsolete. Periodically check your digital files for corruption and migrate them to newer storage media or formats as needed. This ensures your efforts to convert old media truly last.
Advanced Tips and Considerations
To take your digital archiving to the next level, consider these advanced tips:
- Upscaling Video: For standard definition video, some software can attempt to upscale it to higher resolutions. While it won’t create new detail, it can make videos look better on modern HD/4K screens.
- Color Correction and Restoration: Advanced image and video editing software can perform significant color correction on faded photos or color-shifted video.
- Metadata Tagging: Embed descriptive tags, dates, and locations into your digital files. This makes them searchable and helps preserve context.
- Legal and Ethical Considerations: Be mindful of copyright if you’re digitizing commercial media. Focus on personal, home-recorded content.
- Community Resources: Many online forums and communities are dedicated to media preservation. They can be invaluable resources for troubleshooting and advice.
Common Challenges and How to Overcome Them
Digitizing old media can present several hurdles. Knowing them beforehand can help you prepare.
- “Sticky Shed Syndrome” on Tapes: This is a common issue with older magnetic tapes where the binder holding the magnetic particles deteriorates, making the tape sticky and unplayable. Do NOT attempt to play such tapes as they can damage your equipment. Professional restoration is required, often involving baking the tapes.
- Mold Growth: Mold on tapes or film can be damaging. Small amounts might be carefully removed, but extensive mold requires professional cleaning to prevent further damage and health risks.
- Faded Colors and Poor Quality: Old media often has faded colors, poor contrast, or noise. While you can’t restore what’s not there, modern software can significantly improve the appearance through color correction, noise reduction, and sharpening.
- Missing or Broken Equipment: If you don’t have a working VCR or camcorder, you’ll need to source one. Check online marketplaces, thrift stores, or specialized electronics retailers. Ensure it’s in good working order.
- Time Commitment: Digitizing a large collection is a time-consuming process, especially for real-time video and audio capture. Break it down into manageable chunks.
- Storage Space: High-quality digital files, especially video, can take up a lot of space. Plan your storage needs and invest in adequate solutions.
The Deadline: Why 2026?
While 2026 isn’t a hard-and-fast doomsday clock, it serves as a critical benchmark. Experts in media preservation often cite this period as a point where the widespread availability of functional analog playback equipment will significantly diminish. Manufacturers stopped producing VCRs years ago, and parts for repairs are dwindling. The chemical stability of many photographic and magnetic media formats also has a limited lifespan, with noticeable degradation accelerating after a few decades. By setting a goal to convert old media by 2026, you create a tangible target to safeguard your memories before the task becomes exponentially more difficult and expensive.
Conclusion: A Legacy Preserved
The journey to convert old media into digital formats is an act of preservation, a gift to future generations, and a way to reconnect with your own past. It requires patience, some technical effort, and a commitment to safeguarding what truly matters. By following the steps outlined in this guide, you can confidently tackle your collection of analog memories, transforming them into accessible, durable digital assets. Don’t let your family’s history fade into obscurity. Start today, and by the end of 2026, you’ll have a rich, digital archive of priceless moments ready to be enjoyed for many years to come.
Further Resources:
- Recommended Video Capture Devices (Affiliate Link)
- Top Flatbed Scanners for Photos and Film (Affiliate Link)
- Guide to Audacity for Audio Restoration
- Understanding Digital File Formats for Archiving
- List of Professional Media Conversion Services